w2 <<
Previous Next >> w4
w3
第三週進度:使用CoppeliaSim模擬、並繪製外殼及裝粉槽與第二週所繪製的零件組合。
程式模擬過程
第一次測試影片-無法正常運作
修改後的模擬
模擬圖:shell-外殼、Upper_cover-上蓋、Body-本體、Revolute_joint-旋轉街頭、axis-旋轉軸
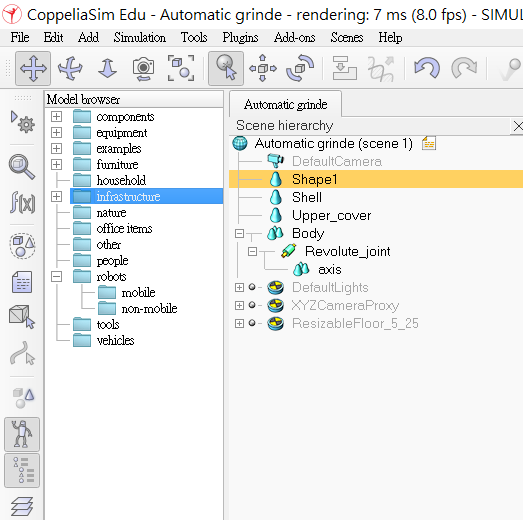
模擬圖:shell-外殼、Upper_cover-上蓋、Body-本體、Revolute_joint-旋轉街頭、axis-旋轉軸
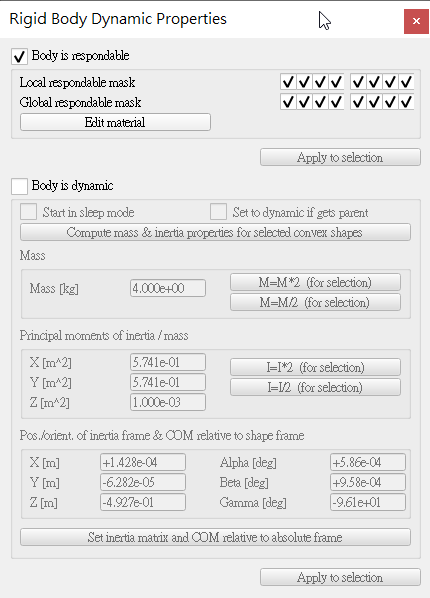
本體的動態特性
把Body is respondable 打勾
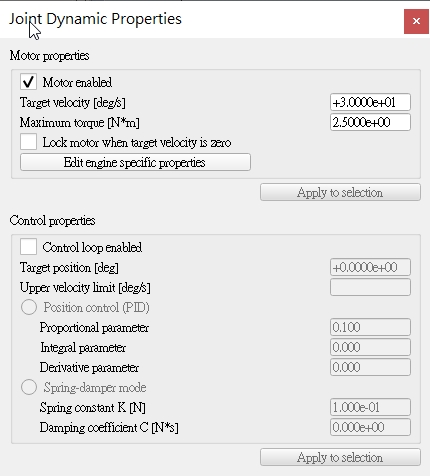
旋轉接頭的連結特性
設立一個馬達
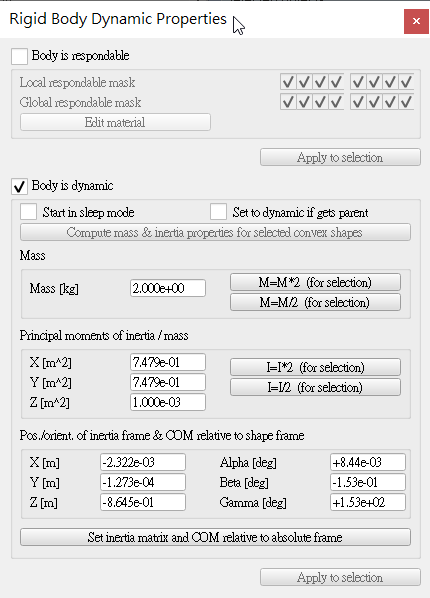
剛體的動態特性
為了使物體能夠有作動,所以將Body is dynamic 打勾
完成圖
外殼繪製圖
.png)
繪製裝粉槽
.png)
最後與上週所繪製的內部零件組裝
.png)
w2 <<
Previous Next >> w4